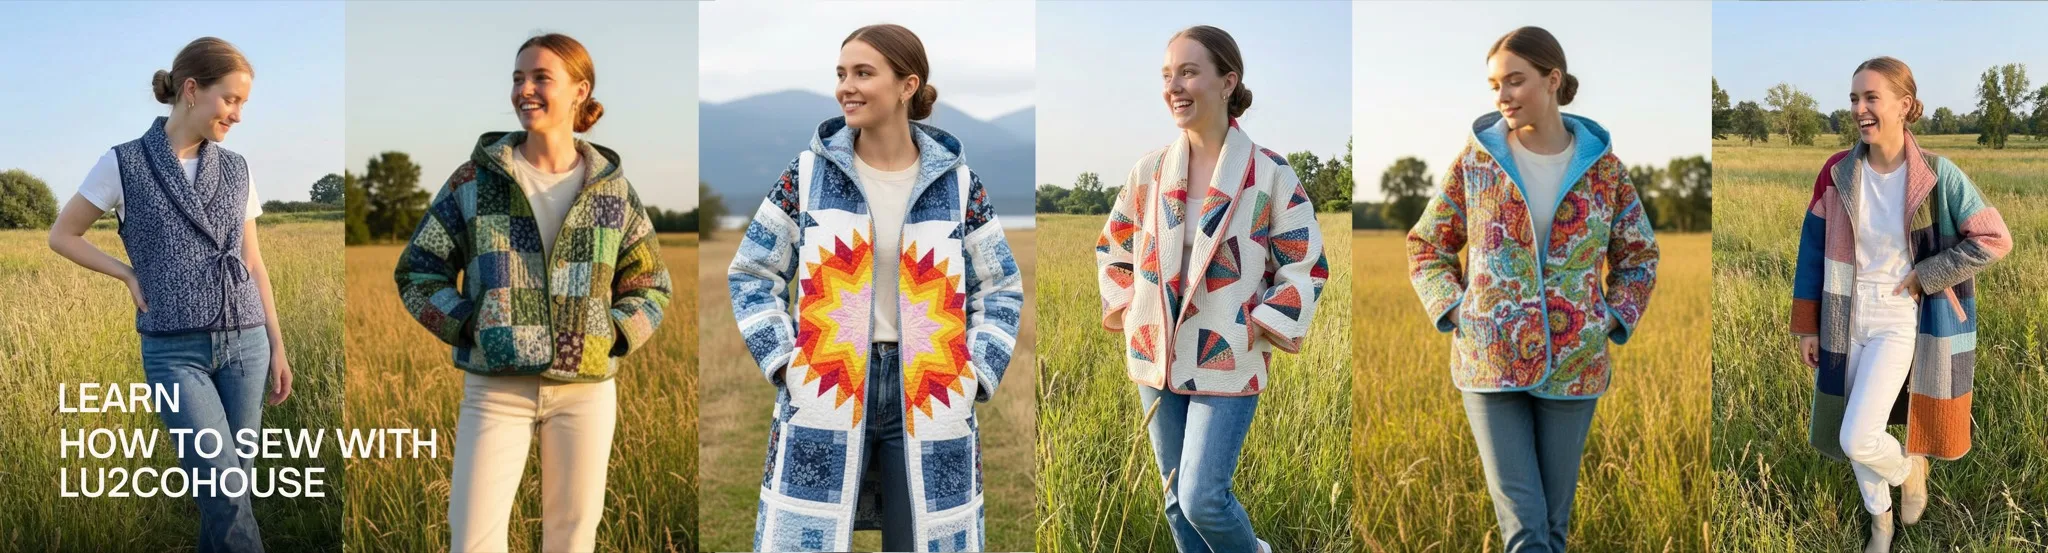
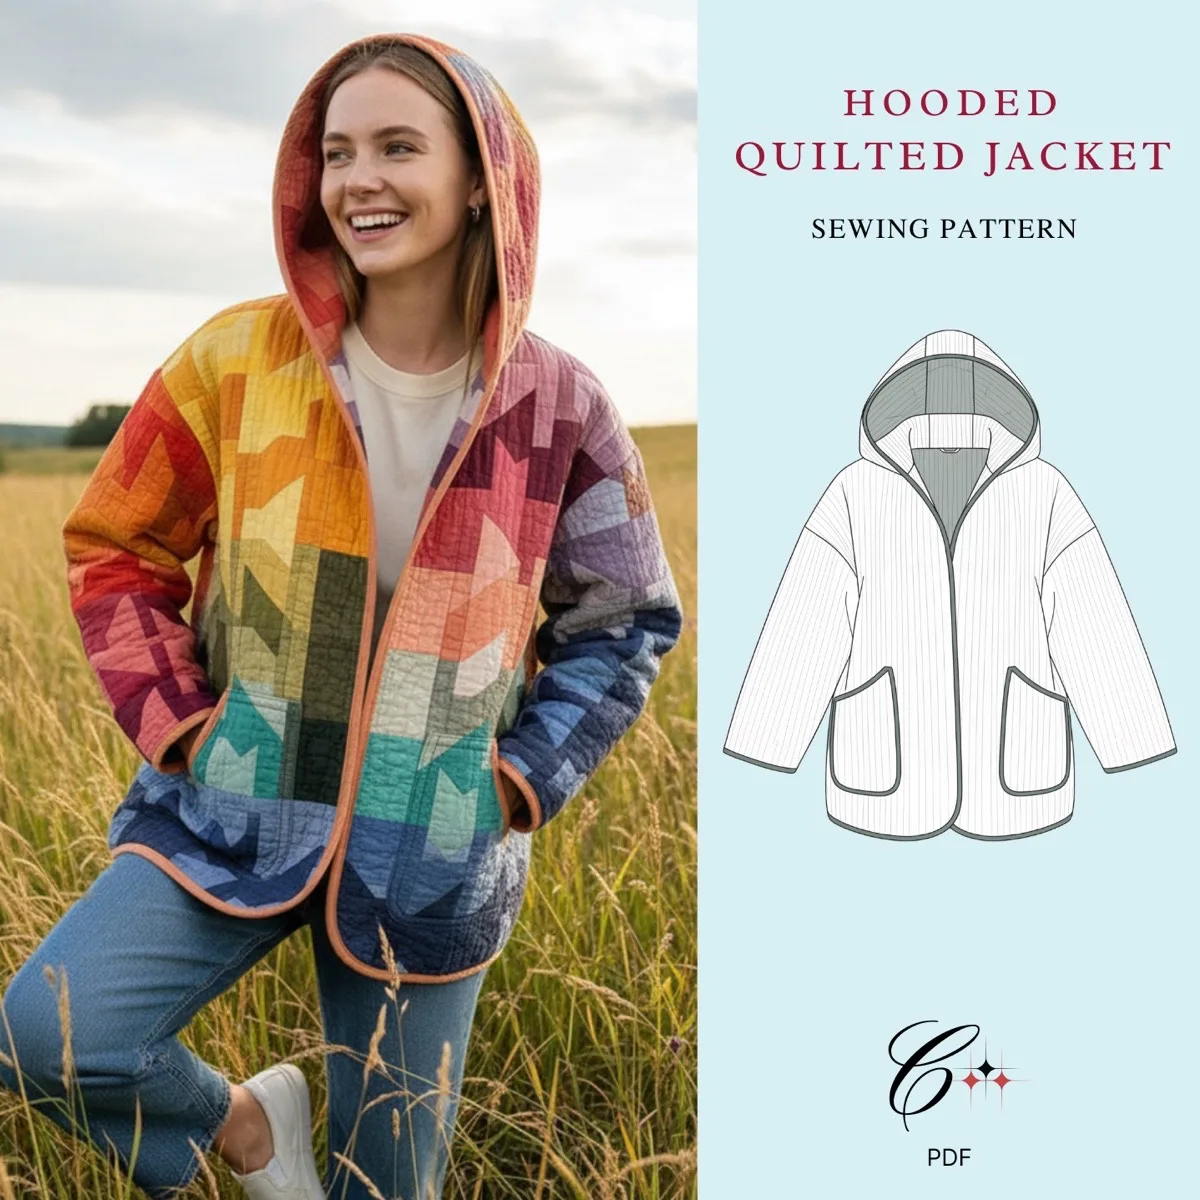
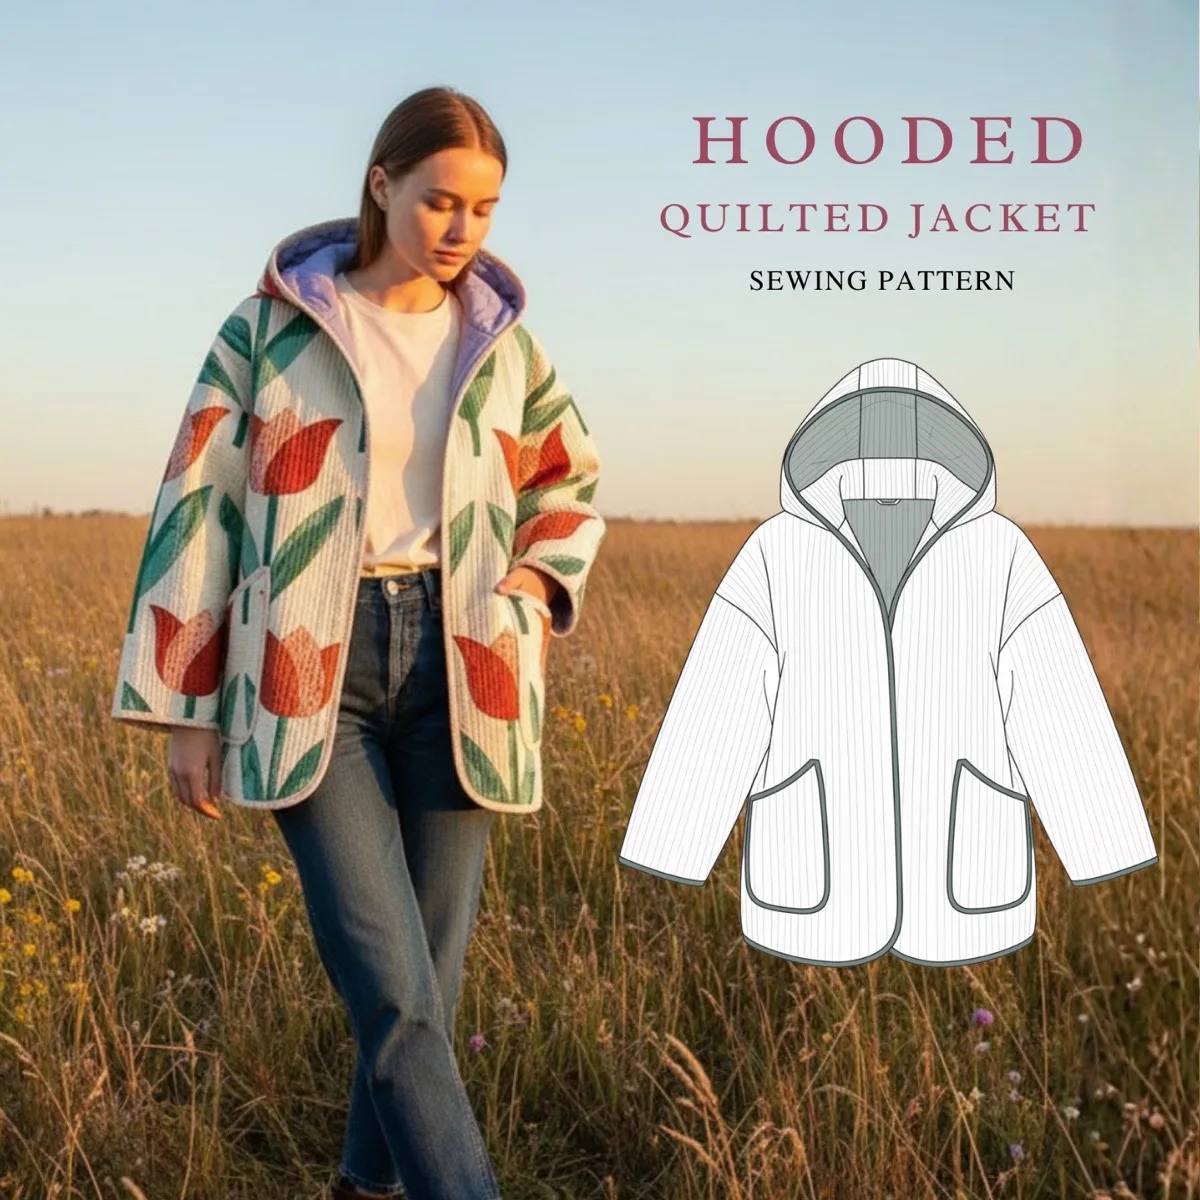
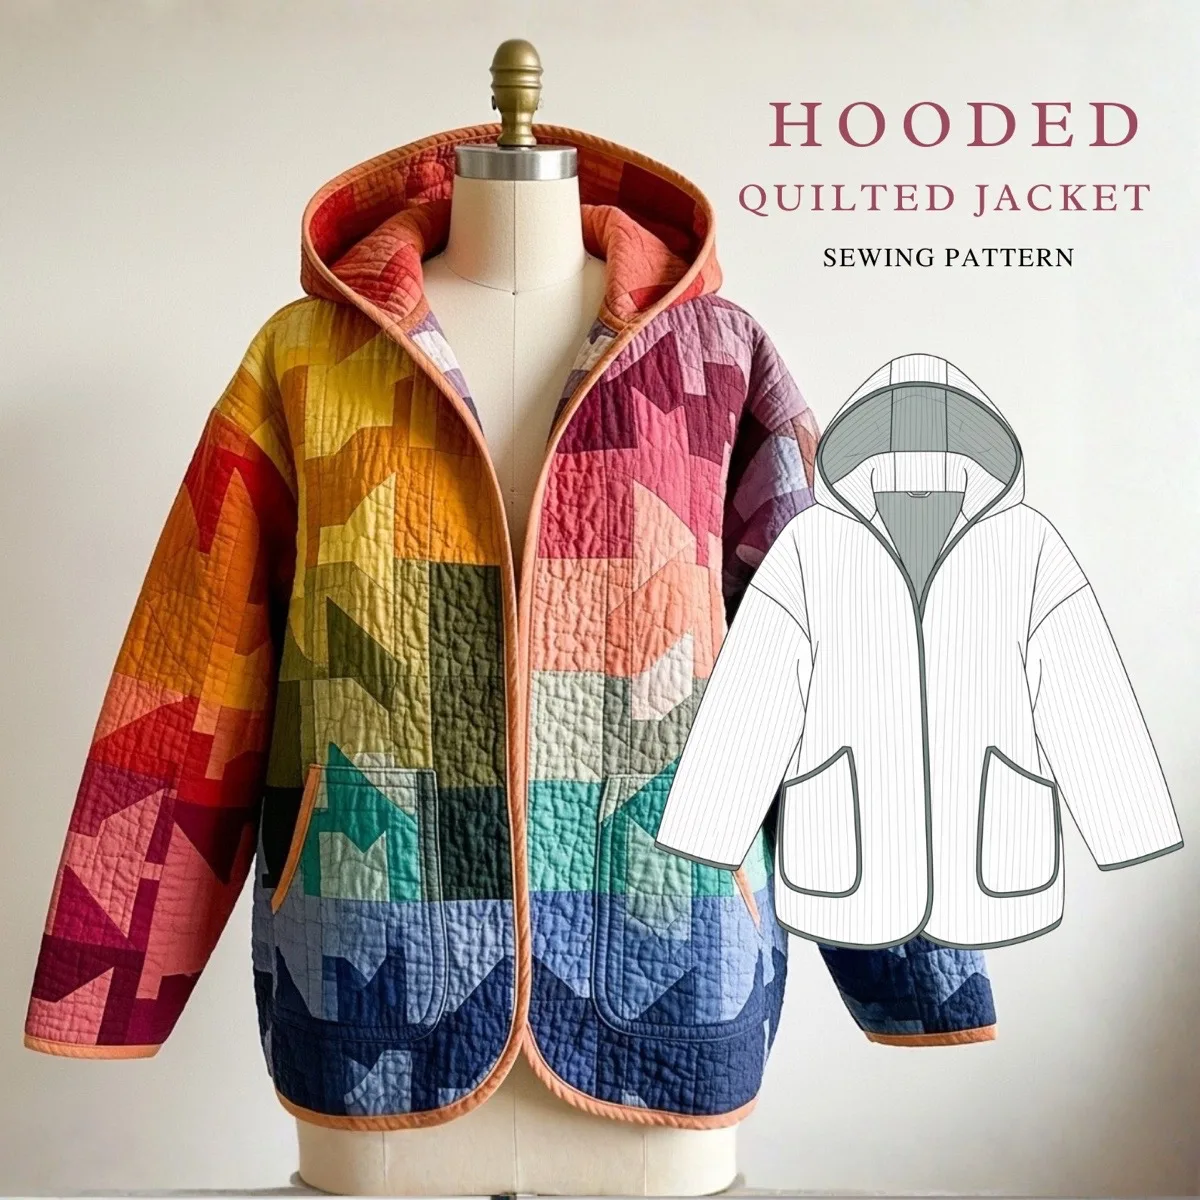
A hooded quilted jacket is one of the most rewarding pieces you can sew — practical enough for everyday wear, refined enough to feel intentional. The Hooded Quilted Jacket by LU2COHOUSE is built around a relaxed silhouette with bias-bound in-seam pockets, set-in sleeves for a clean shoulder line, and a softly shaped hood, all finished with a full bagged-out lining. If you have wanted to move beyond simple tops and into structured outerwear, this is an ideal starting point. This guide walks you through the key construction stages of this hooded quilted jacket sewing pattern — the full pattern provides every graded piece from XXS to 5XL and the complete step-by-step instruction booklet so nothing is left to guesswork.
1 Selecting the Best Pre-Quilted Fabrics for your jacket
For this hooded jacket design, pre-quilted fabrics are ideal — offering warmth, structure, and texture without the need for extra padding. Each fabric type adds its own character, letting you adapt the jacket to your personal style and the season.
Pre-Quilted Cotton is soft, breathable, and easy to sew — ideal for transitional weather and everyday wear. This fabric creates a light quilted hooded jacket that can be layered comfortably with a cotton or voile lining. Pre-Quilted Denim adds a modern, structured look with casual durability and a stylish textured surface, pairing beautifully with a smooth satin or lightweight polyester lining.
For something more versatile, Pre-Quilted Nylon or Polyester is lightweight and weather-resistant — perfect for a sporty or travel-friendly hooded jacket. And for cooler months, Pre-Quilted Wool or Wool Blends offer natural warmth, refined drape, and a luxurious finish that pairs beautifully with a silky or quilted lining for extra comfort and insulation.
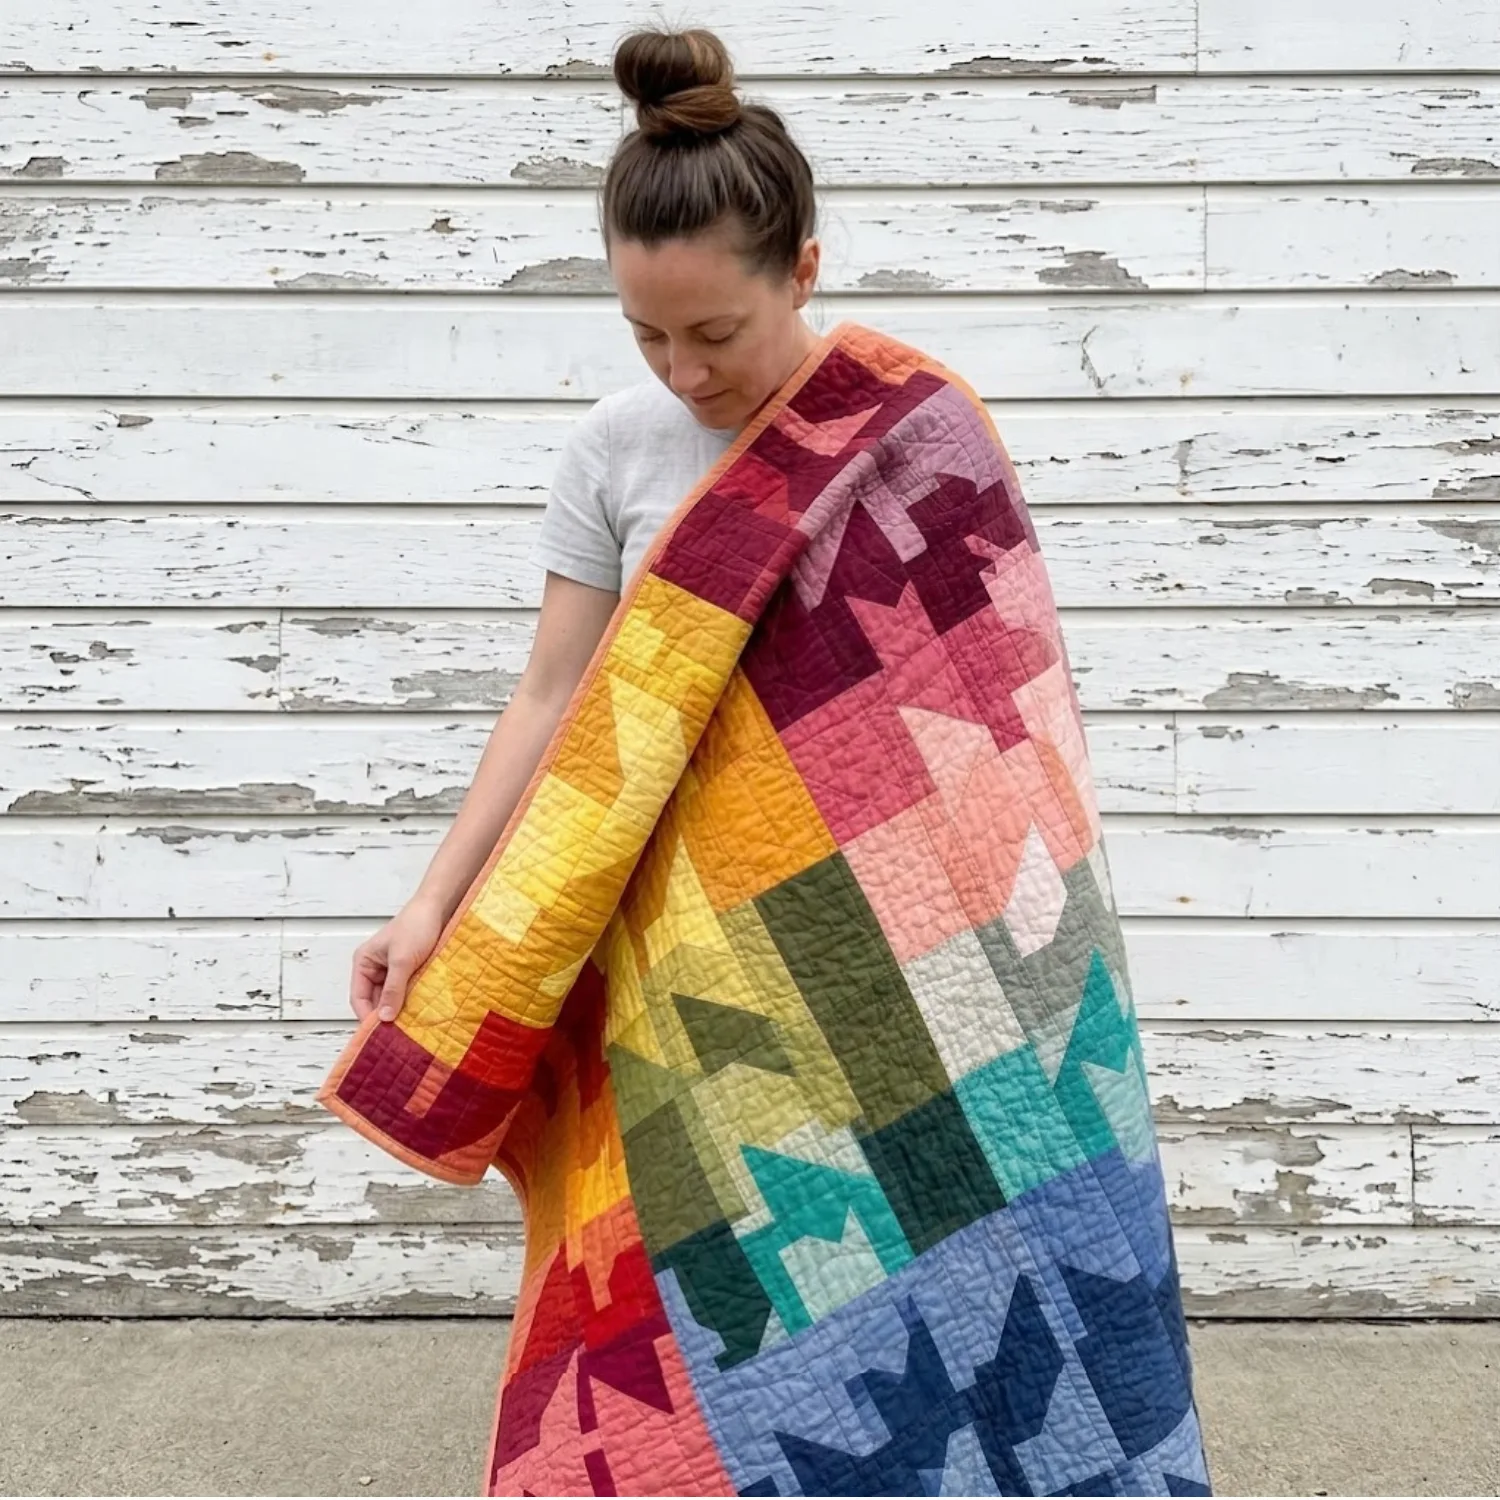
From cotton to wool — choose the pre-quilted fabric that suits your style and season
2 How to Print Your Hooded Jacket PDF Sewing Pattern
Before cutting your fabric, you need your clothing patterns prepped. For this tutorial, we are using the LU2COHOUSE Hooded Quilted Jacket Sewing Pattern — the exact pattern used to create the jacket you see in this guide. Ensure your PDF pattern is printed at full size — meaning your printer settings must be set to "Actual size" with no scaling. Always print the first page only and verify the scale is correct by measuring the 2-inch test square with a ruler before printing all pages.
Additionally, use layered PDF technology to your advantage. Open the file in Adobe Acrobat Reader, click on the "Layers" icon, and click the eye icon to deselect the sizes you do not need. This saves ink and makes your pattern lines incredibly easy to read.
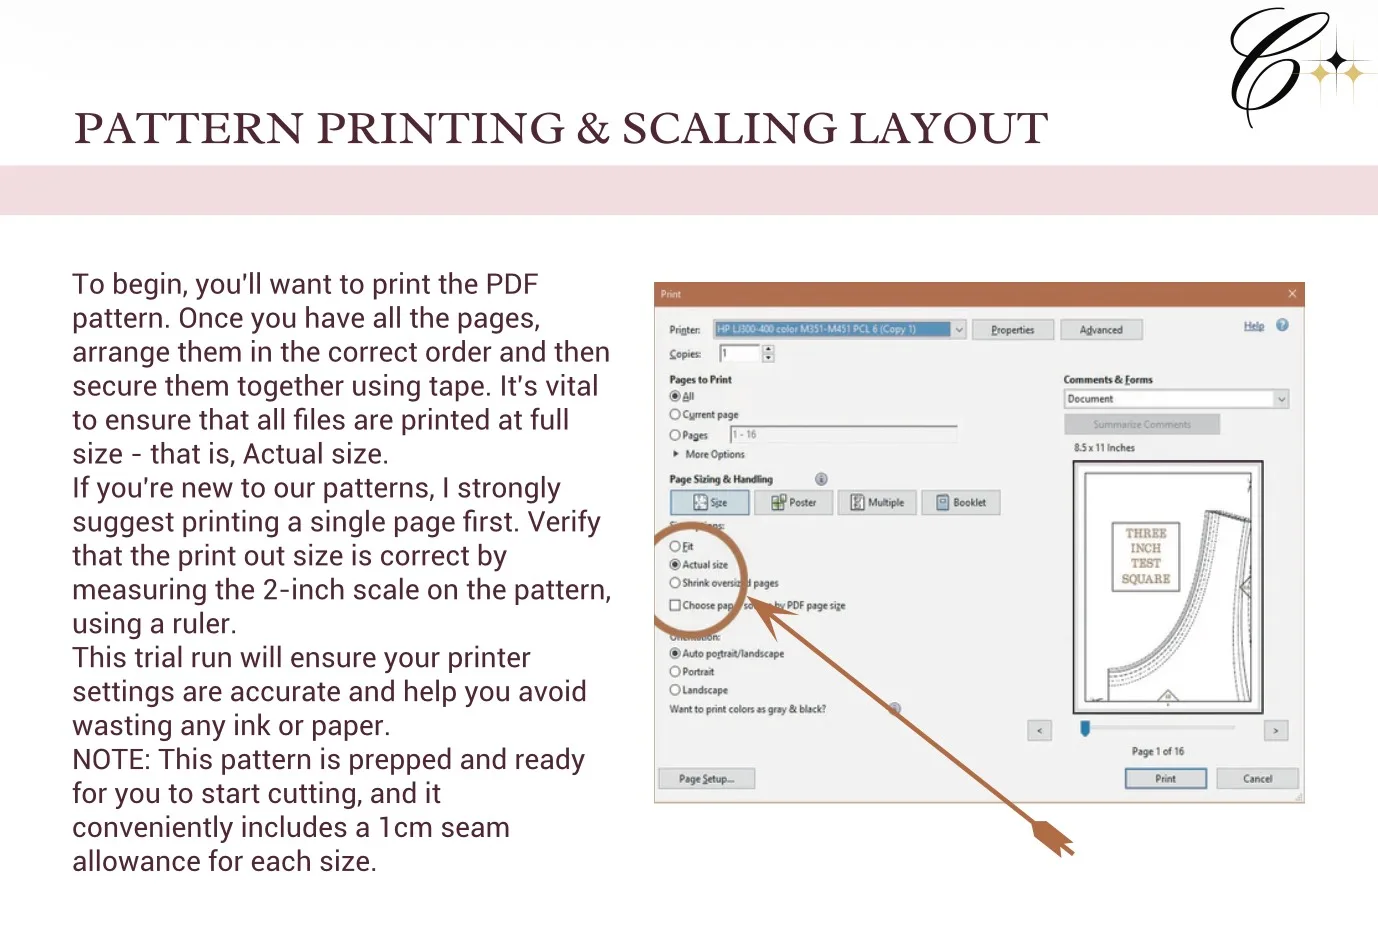
Set your printer to "Actual size" — then verify with the test square before printing all pages
3 Finding Your Size in a Hooded Quilted Jacket Pattern
Every body is different, so choosing the correct size is crucial for a great fit. Using a measuring tape, gently measure your bust, waist, and hips, keeping the tape comfortably fitted — not too tight or too loose — to ensure accuracy.
Compare your measurements with the pattern's size chart. The LU2COHOUSE Hooded Quilted Jacket sewing pattern covers inclusive sizes from XXS through 5XL, making it one of the most size-inclusive women's clothing patterns available. If your measurements fall between two sizes, we recommend choosing the larger one for a more relaxed and comfortable fit — ideal for a layering coat pattern like this one.
Sewing this exact look along with us?
While this tutorial covers the major milestones, perfect jacket sewing is all in the details.
To get the exact proportions, the inclusive size chart, and the full detailed instruction booklet, you will need the LU2COHOUSE Hooded Quilted Jacket Sewing Pattern. Available as an INSTANT DOWNLOAD, it includes formats for A4 and US Letter so you can print right at home, along with A0 for large-scale print shops, ensuring you can start cutting right away. The pattern also includes separate layers for every size and size measurements in both cm & inches.
Tools you will need
How to read the illustrations
4 How to Sew Patch Pockets with Bias Binding
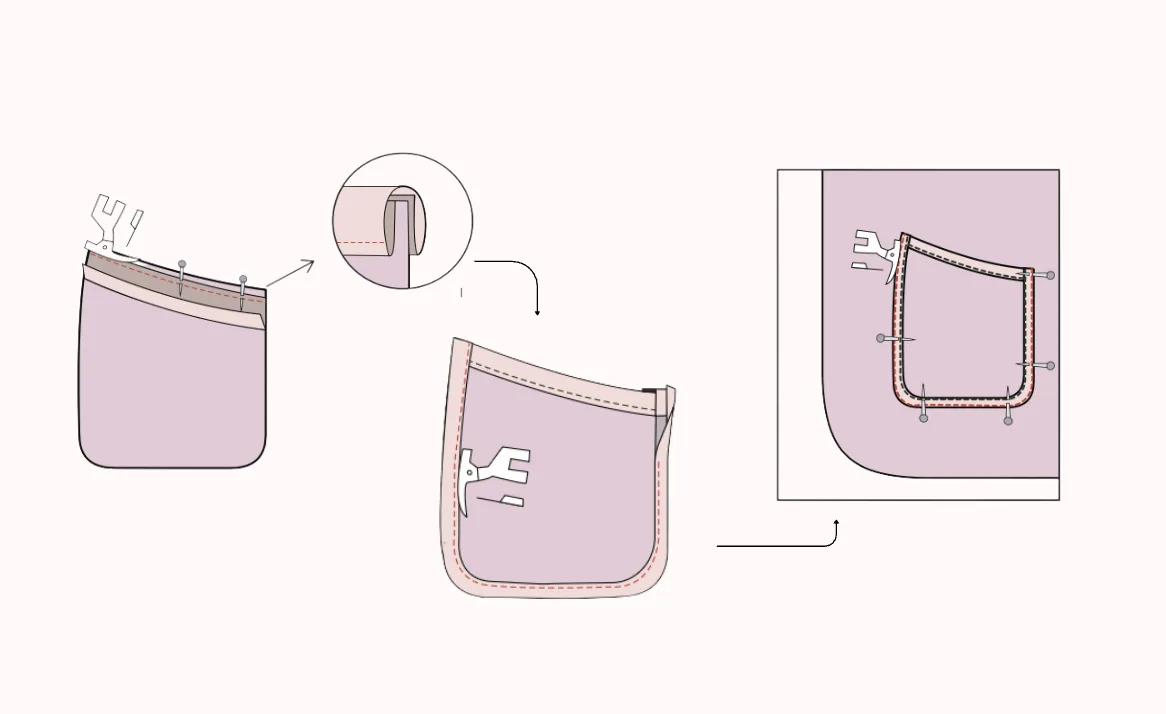
For this quilted jacket we elevate the standard patch pocket by finishing all edges with bias binding before attaching it to the jacket front.
- Measure the pocket top, sides, and bottom and cut bias band pieces to match each length.
- Open one folded edge of the bias band, align it with the raw edge of the pocket top right sides together, and stitch along the crease. Fold the band over to encase the raw fabric and topstitch close to the folded edge.
- Repeat the binding process for the side and bottom edges, folding the ends 1 cm inward before topstitching for crisp, professional corners.
- Transfer the pocket placement markings from the pattern to the jacket front. Place the pocket wrong side to right side on the designated spot and topstitch 0.1 cm from the edge to attach it cleanly.
5 How to Sew Jacket Sleeves for a Relaxed Silhouette
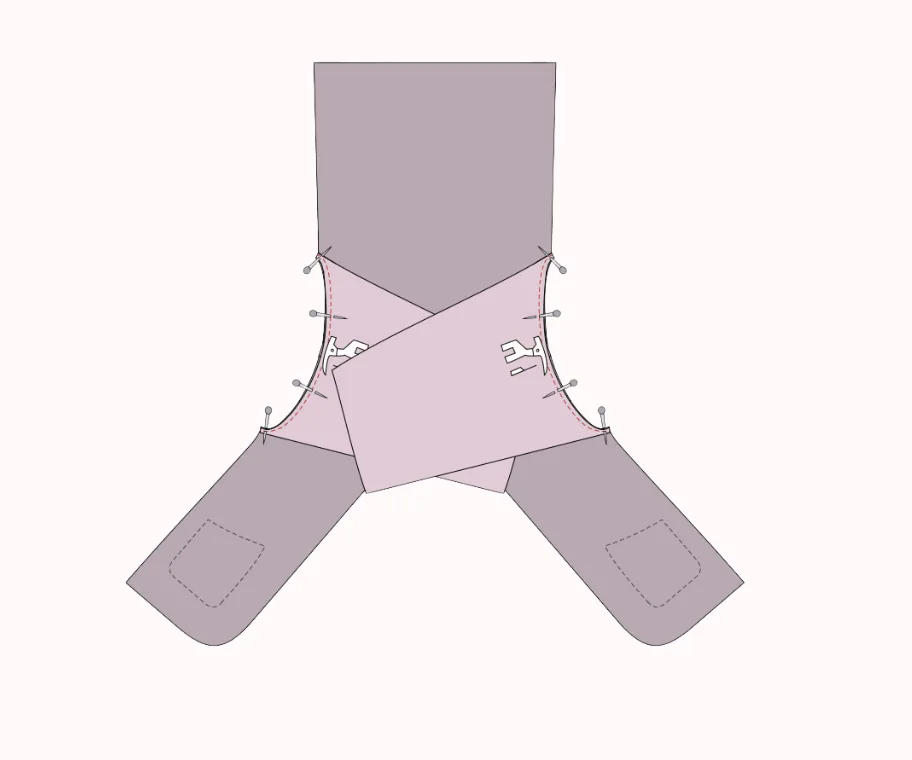
- Lay the back piece flat and place the front piece on top, right sides facing. Align the shoulder seams, pin, and stitch with a 1 cm seam allowance. Press the seam open. Repeat for the lining pieces.
- Position the sleeve cap into the armhole with right sides facing each other. Align the notches on both the sleeve and the armhole carefully.
- Secure the sleeve in position from both sides using pins, then sew along the edges maintaining a 0.7 cm seam allowance for a balanced, professional silhouette.
6 How to Sew and Attach a Softly Shaped Hood
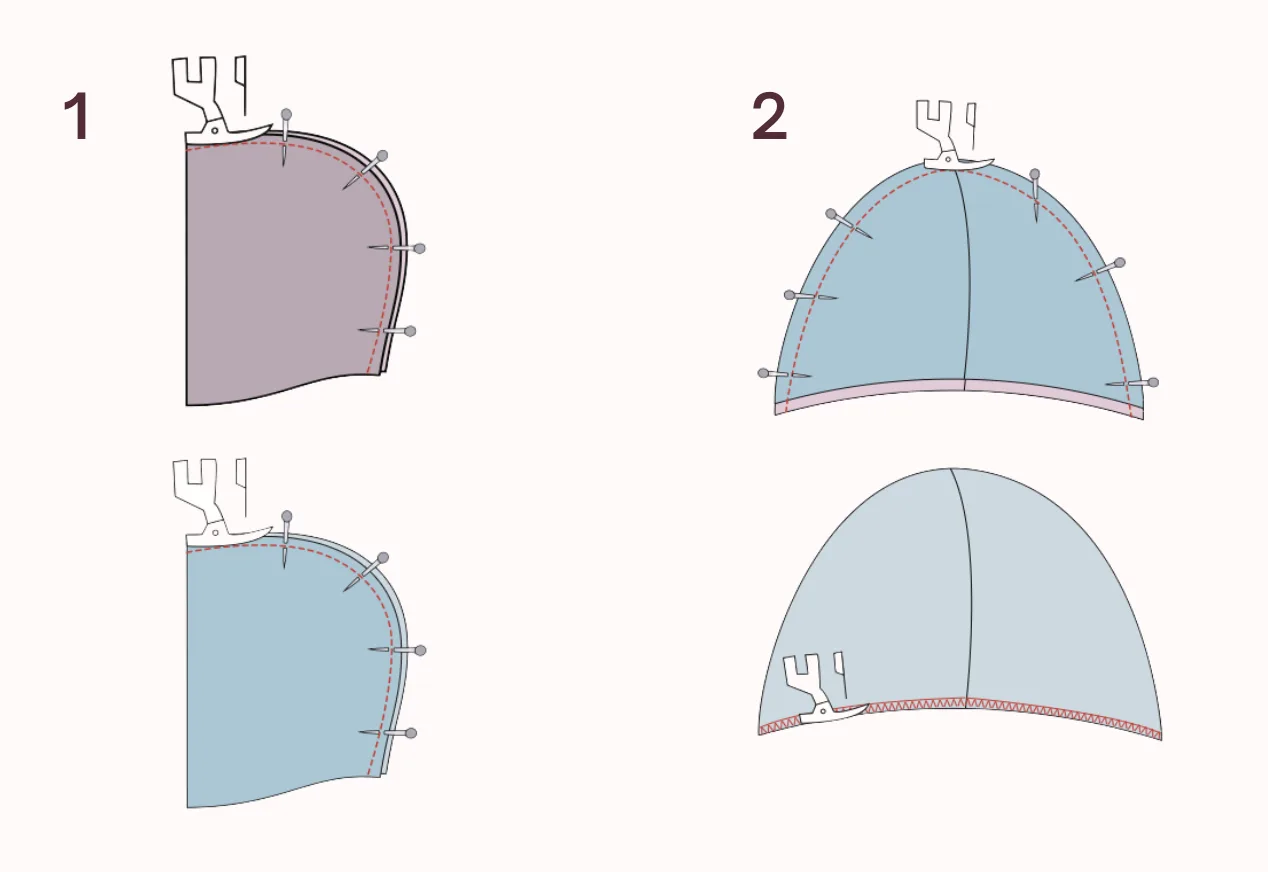
The hood gives this garment its signature look — sew the outer and lining hoods separately before joining them.
- Place the outer hood pieces right sides together and sew along the curved center seam using a 1 cm seam allowance. Repeat for the lining hood pieces.
- Open both hoods out and place them right sides together, carefully matching the center seams. Sew along the front face opening edge with a 1 cm seam allowance.
- Turn the hood right side out and press the face edge flat for a clean, polished line. Serge the bottom raw edge to prepare it for attachment.
- Fold the jacket neckline in half to find the center point, then do the same for the hood. Match both center points right sides together, pin the hood evenly along the neckline, and sew in place using a 0.5 cm seam allowance.
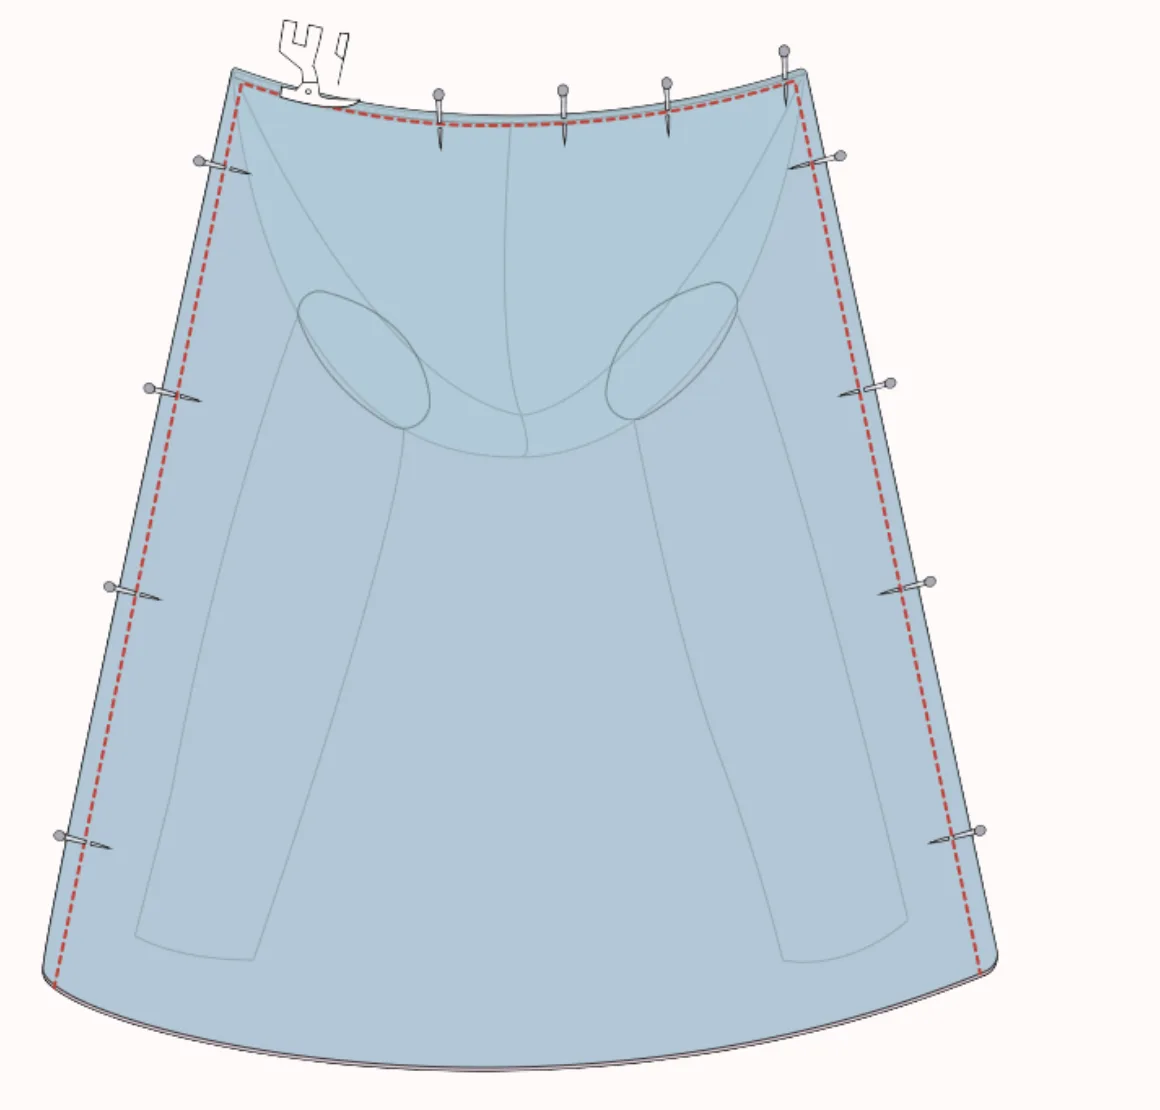
7 How to Fully Line a Hooded Quilted Jacket (Bagging-Out Method)
A fully lined interior is what separates a truly polished fashion pattern from a basic sewing project — it elevates your quilted sewing to a professional level. To achieve this without any raw seams showing on the inside, we use a clean bagging-out technique.
- Lay the assembled jacket flat with the hood positioned downward and the sleeves folded inward.
- Place the fully assembled lining directly on top, right sides together, aligning the center front and neckline edges carefully. Tuck the lining sleeves inside to create a complete sandwich arrangement.
- Begin sewing from the bottom hem on the left side and continue around, keeping all edges evenly matched. Trim the seam allowance along any curved edges for a smooth result.
- Pull the entire jacket right-side out through the bottom hem opening and press all edges firmly with an iron for crisp, clean lines.
8 How to Finish a Hooded Jacket Opening with Bias Binding
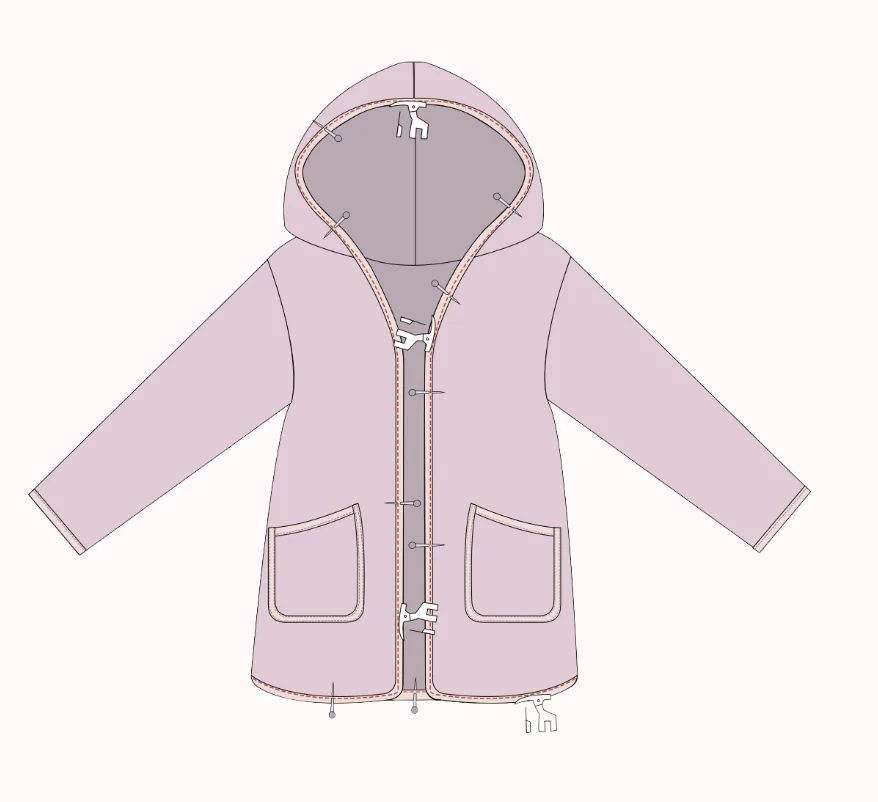
For the absolute highest quality finish on your quilted sewing project, we apply bias binding to both the wrist hems and the entire front opening of the jacket — from the hem, up along both front edges, and around the hood face opening. This is the detail that gives the LU2COHOUSE Hooded Quilted Jacket its refined, handcrafted character.
- Align the wrist edges of the lining and main fabric right sides together and secure with pins.
- Cut a bias band to match the wrist hem length. Open one folded edge, align its raw edge with the raw edge of the wrist hem right sides together, pin neatly, and stitch along the crease line.
- Fold the bias band to the inside, covering the raw edge completely, then topstitch close to the folded edge. Press for a neat, polished finish. Repeat for the second wrist.
- Measure the full continuous length of the front opening, hood face, and hemline. Cut a single bias band to match, adding a little extra for safety.
- Open one folded edge, align it with the raw edges of the jacket's front, hood, and hem. Stitch along the crease, fold the band over to the inside to encase all raw seams, and topstitch close to the folded edge. Press for a clean, professional finish.
Ready to Sew Your Own Hooded Quilted Jacket?
A hooded jacket you sewed yourself hits differently — every bias-bound edge and set-in sleeve is proof of what your hands can make.
This tutorial covers the key stages — the full pattern takes you the rest of the way. Inside you will find every graded pattern piece, the inclusive size chart from XXS to 5XL, and a step-by-step instruction booklet so nothing is left to guesswork. Instant download, print at home, start cutting today.
What you will receive with the Hooded Quilted Jacket Pattern:
- PDF sewing pattern — sizes XXS through 5XL
- US Letter printable pattern for home printers
- A4 printable pattern
- A0 printable pattern for large-scale print shops
- Separate layers for every size — easy to print only your size
- Size measurements in both cm & inches
- The complete detailed instruction booklet
- Instant digital access — no waiting!
[ Made by our community ]
What Sewers Made with the Hooded Quilted Jacket Pattern
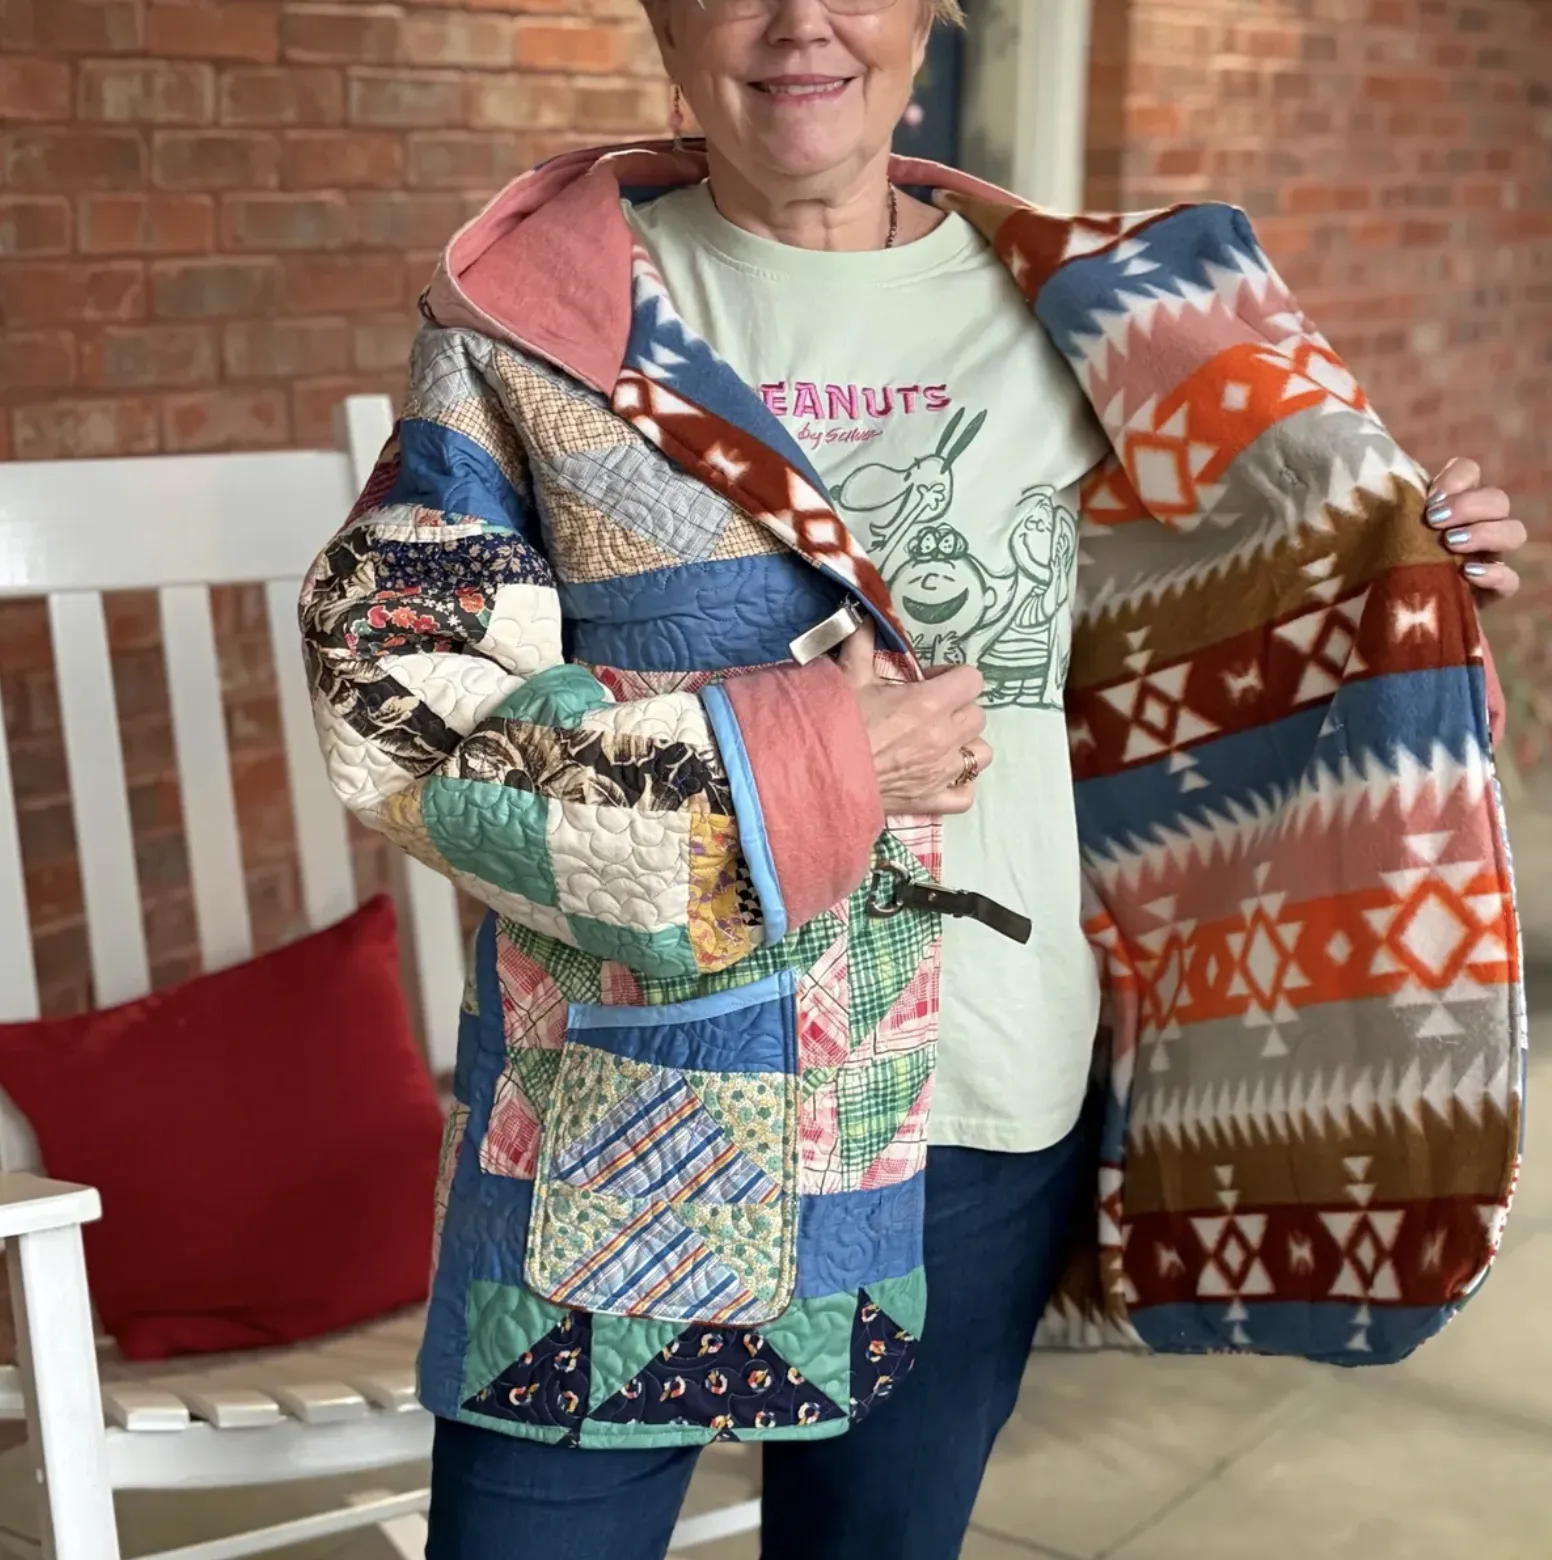
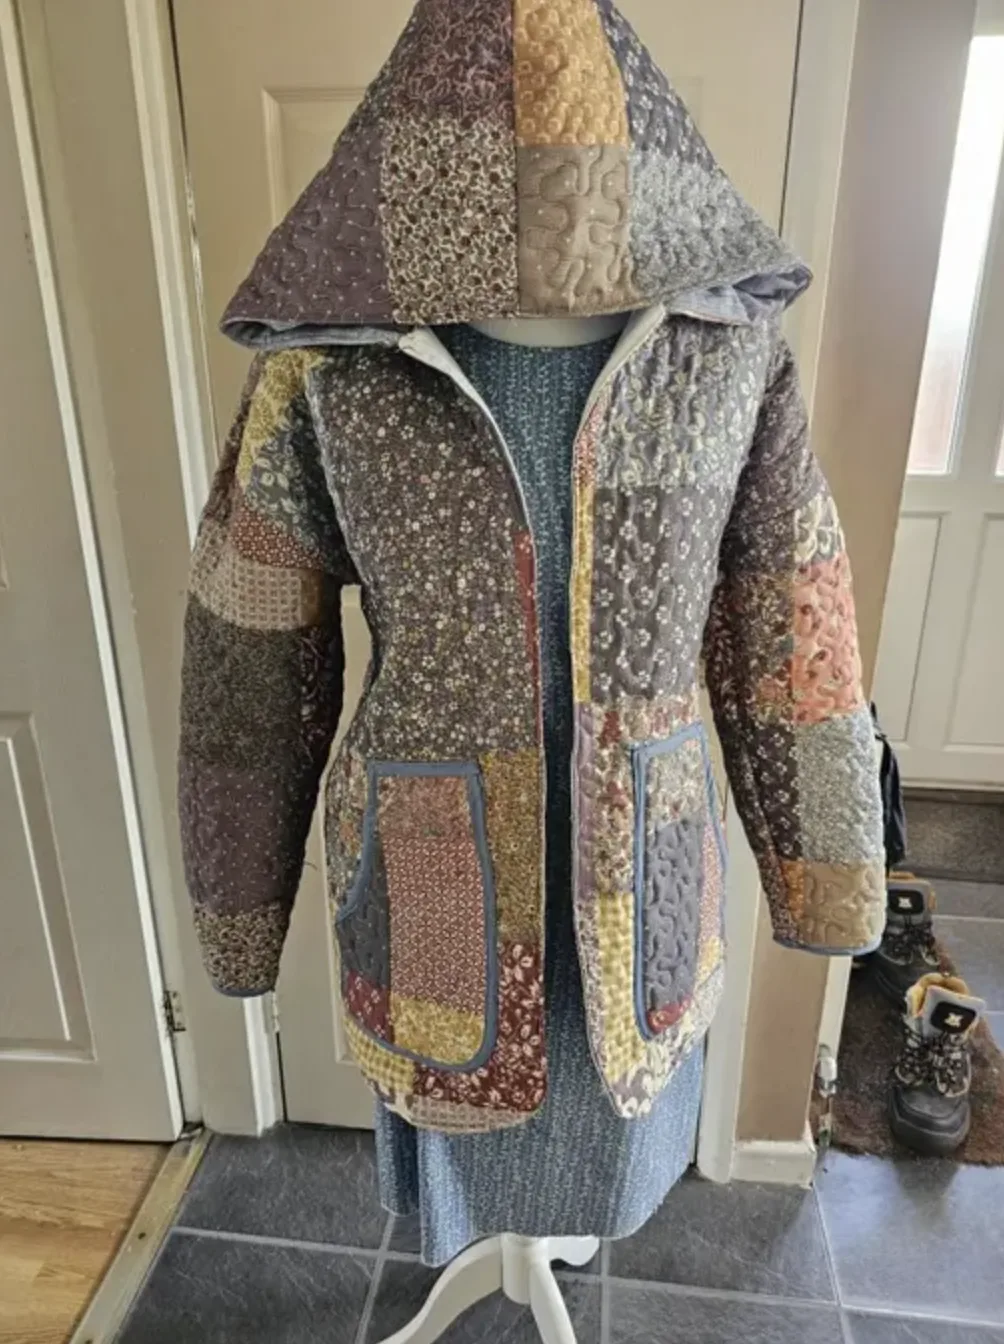
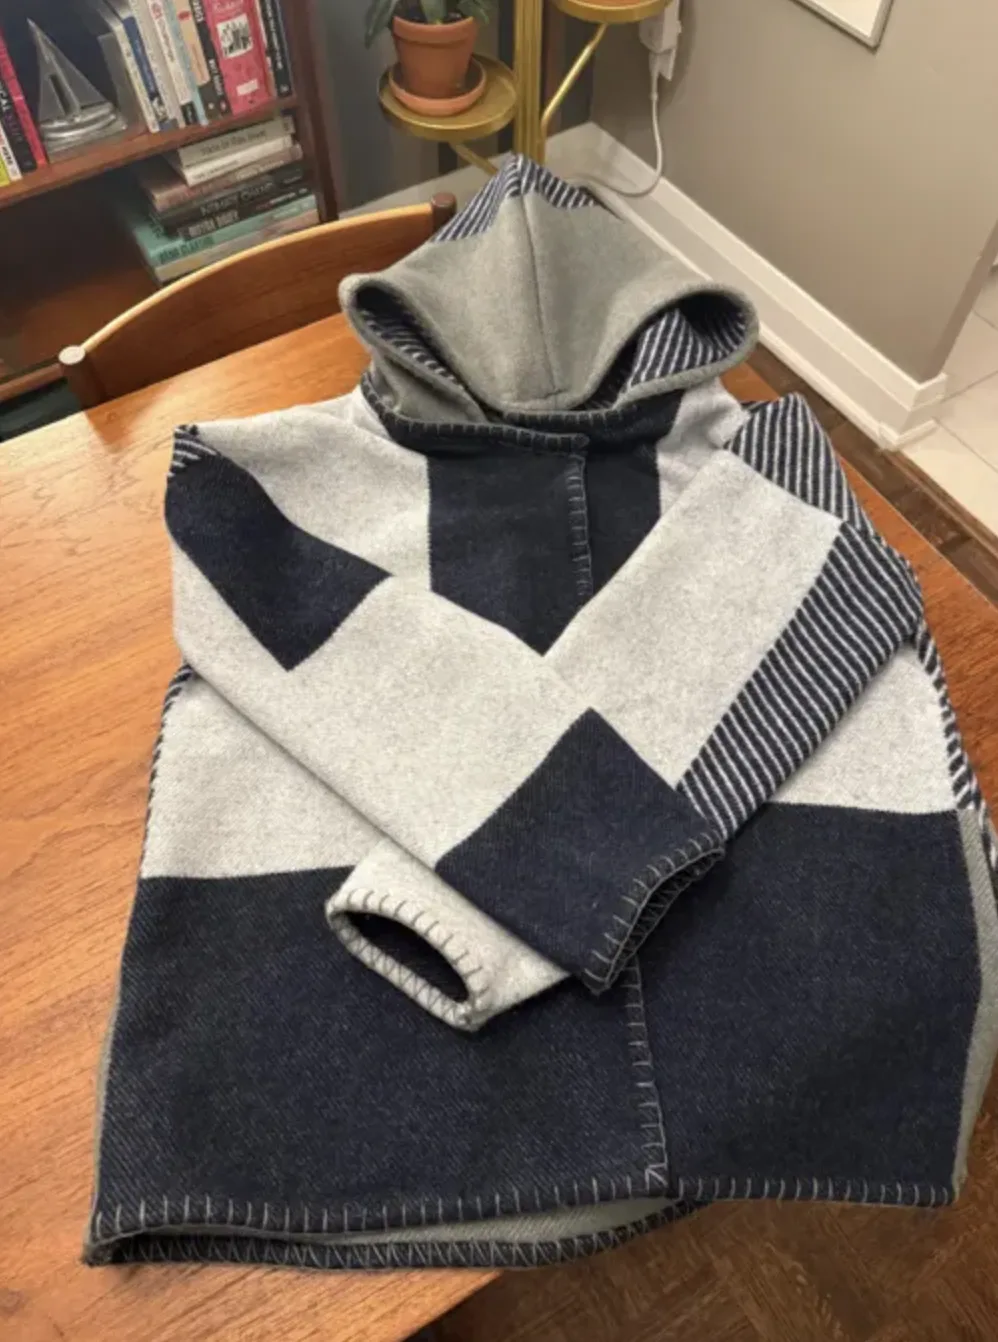
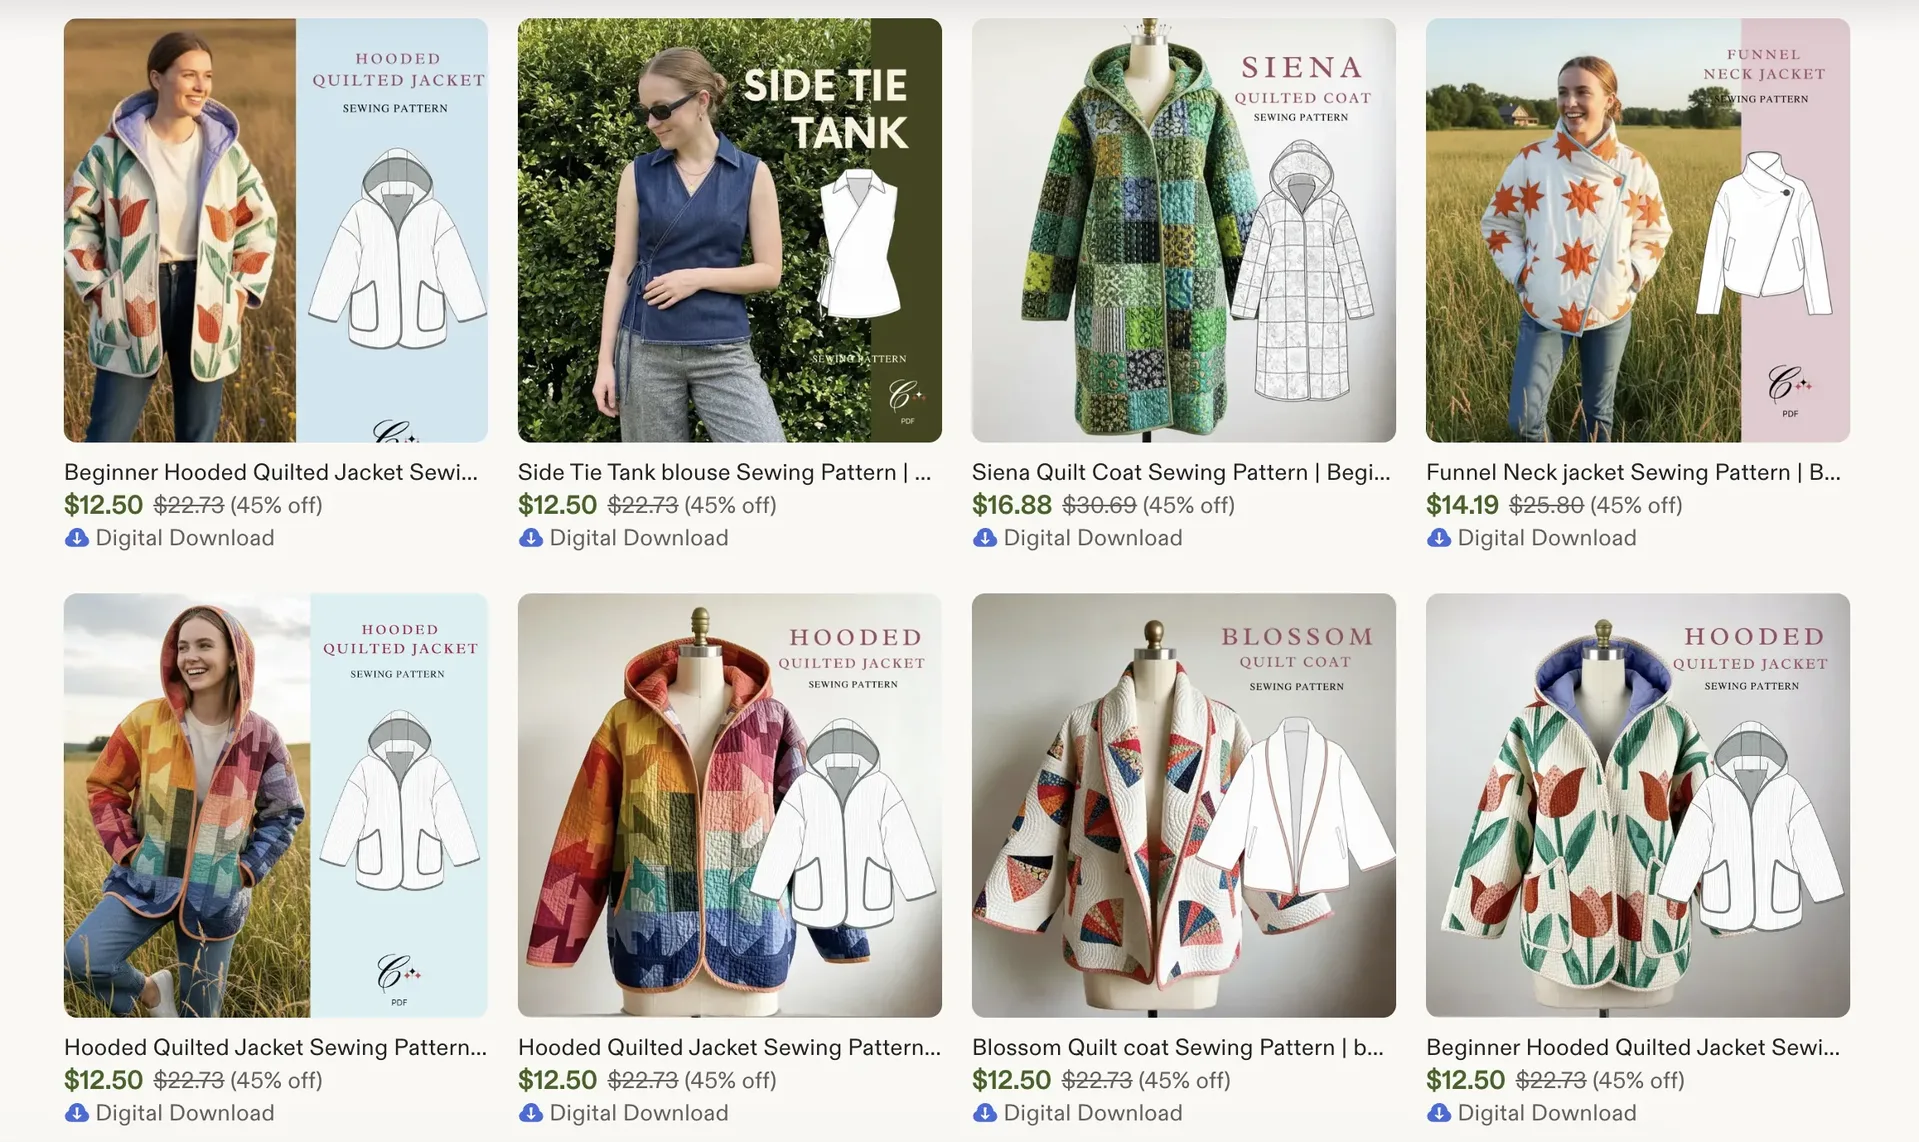
Want to explore more womens jacket patterns? We have a massive collection of beginner-friendly clothing patterns tailored for every style!
[ Related Guides ]
Terms of Use: All digital patterns, tutorials, and designs are for personal use only. Unauthorized commercial reproduction or distribution of any pattern or resulting garments is strictly prohibited to protect original designs.